Mason Hartsock, professional MMA fighter, CrossFit Level 1 coach, and personal trainer, shares some helpful foam roller exercises to help maintain mobility and flexibility.
MY CART
Your Cart is Empty
Shop best sellersCUSTOMERS ALSO BOUGHT
Your Cart is Empty
Shop best sellersCUSTOMERS ALSO BOUGHT


Mason Hartsock, professional MMA fighter, CrossFit Level 1 coach, and personal trainer, shares some helpful foam roller exercises to help maintain mobility and flexibility.
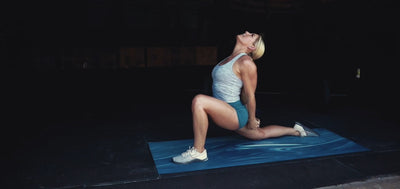
It's important to maintain mobility and flexibility in the shoulders and T-Spine, especially for those with sedentary lifestyles or involved in activities that require a lot of pressing movements.
These exercises can be great for opening up tight pecs and shoulders, which is beneficial for people who spend a lot of time sitting at a desk, texting, or using their phones. It's recommended to spend about a minute and a half to two minutes on the T-spine foam roller stretch to ensure optimal results. Remember to always listen to your body and perform these exercises within a comfortable range of motion.
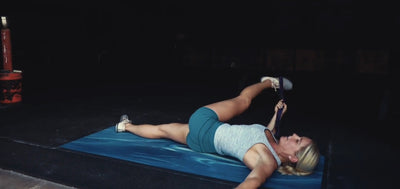
Foam rolling for hips and IT bands is crucial for a wide range of movements and often neglected by people with desk jobs, office jobs, or those who perform exercises like deadlifts and squats. Below is a step-by-step breakdown of the process.
Make sure to repeat these steps on the other side to maintain balance and symmetry in your body. Foam rolling is a great way to alleviate tightness and improve mobility in the hips and IT bands, which is essential for athletes and individuals with sedentary lifestyles.
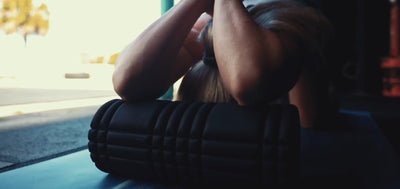
If you have tight shoulders in the overhead position, limited range of motion or suffer from poor posture or chronic pain check out the foam rolling exercises below:
Start with the latissimus dorsi (lat) muscle on one side. Place the foam roller perpendicular to your body and position it at the top of the base of your arm, in your armpit area. Extend your arm long and start rolling down the lat muscle slowly, focusing on the areas around the shoulder blade where tightness is most common. Apply more pressure by lifting your hips or reaching behind your head. Spend about 45 seconds to a minute on this area.
Move on to the pectoralis (pec) muscle on the same side. Lay belly-down with the foam roller positioned under the inside part of your shoulder. Lift your arm up towards the ceiling, drive your shoulder down towards the foam roller and the mat, and turn your head away. From here, you can either rotate your arm from thumbs up to thumbs down, or roll it along the foam roller. You can also perform T-spine openers, like pressing straight up and down or doing a reverse snow angel. Spend about 45 seconds to a minute on this area.
Switch to the other side and repeat steps 1 and 2 for the lat and pec muscles.
Remember to take your time, breathe deeply, and focus on the areas that feel tight and tender. Foam rolling is an excellent way to improve mobility and flexibility, as well as to help prevent injury. Incorporate this routine into your regular workout schedule to help maintain healthy, functional shoulders.
Foam rolling for your calves and ankles is useful for runners, those who do box jumps, double-unders, and even those who want to improve their squat and main lifts.
Here's a step-by-step guide on foam rolling your calves and ankles:
Be gentle and patient with yourself as you foam roll, and make sure to focus on any tight or sore spots you find. Foam rolling can be an excellent addition to your workout routine, helping to reduce muscle soreness and improve mobility. Remember to always listen to your body and adjust the pressure accordingly to avoid discomfort or injury.


Newsletter